AC Compressor Replacement Tips & Tricks
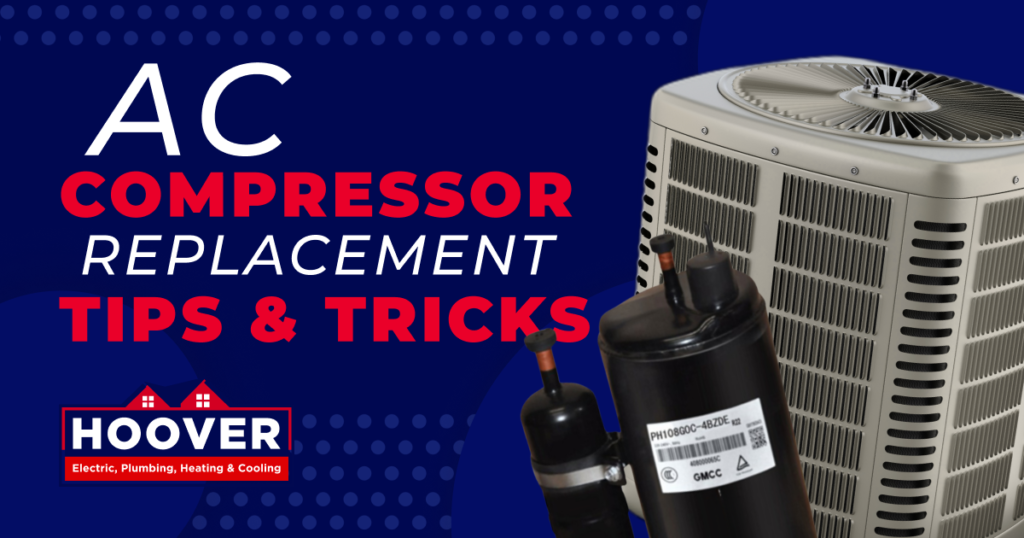
Located in the outdoor condenser unit, the AC compressor is a crucial part of your HVAC system. Without it and its cooling power, you’d quickly find humid Michigan summers much less bearable. Keep your home comfortable by learning what to look for, how to replace an AC compressor yourself, and when to call in a professional from Hoover for AC compressor replacement.
Signs Your AC Compressor Is On Its Last Legs
Some signs of a bad AC compressor include:
- Reduced cooling performance
- Strange AC compressor noises
- Hard or stuttering starts
- Circuit breaker tripping
- AC compressor leaking refrigerant
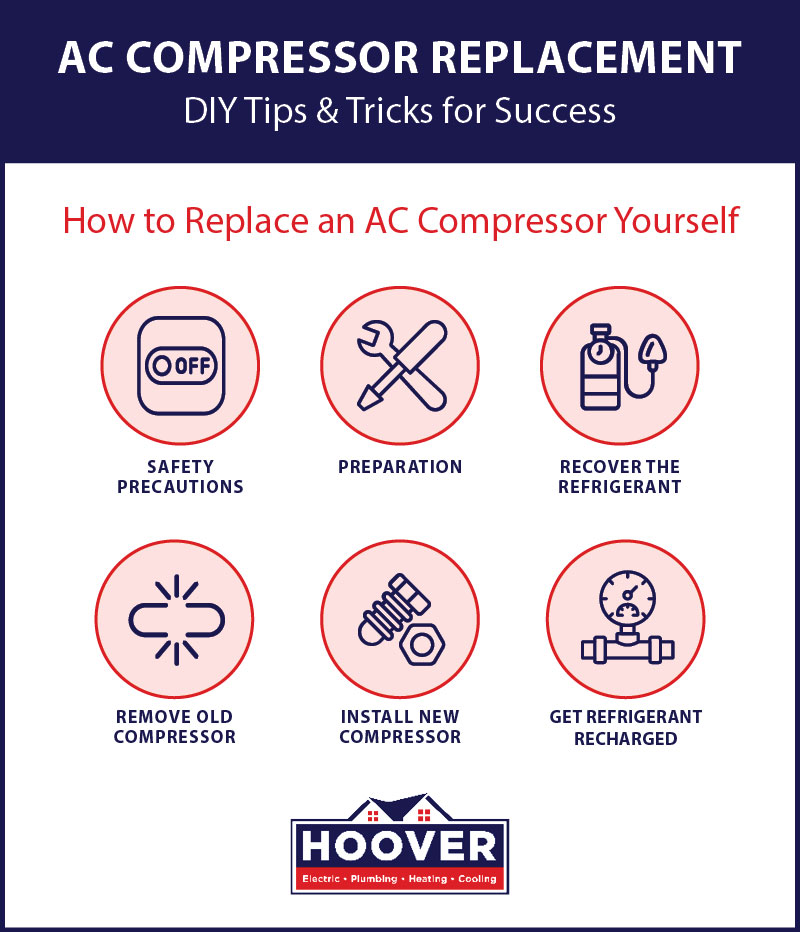
How to Replace an AC Compressor Yourself (Step-by-Step Guide)
With reference to manufacturer instructions if available, follow these steps to replace your AC compressor.
1. Safety precautions
Before working with any equipment on your air conditioning unit, including the compressor, turn off the power from the electrical panel. Tape the switch to the off position to prevent someone in your household from accidentally turning it back on.
Replacing a compressor can expose you to sharp components and hazardous refrigerants. Wear safety goggles, gloves, and other necessary protective gear while you work.
Since it’s a hazardous substance and poses environmental risks, recharging refrigerant requires the handler to hold Environmental Protection Agency (EPA) certifications that authorizes them to work with refrigerant. Schedule an HVAC service for refrigerant charging for the day you plan on replacing your compressor to avoid delays.
2. Preparation
Collect the following tools and equipment required for the replacement process:
- Wrench and socket set
- Screwdrivers
- Pliers
- AC manifold gauge set
- Refrigerant recovery machine and tank
- Replacement compressor
Find the correct replacement compressor unit by referencing your owner’s manual and finding the model number and specifications of your current compressor. If you don’t purchase the exact replacement model, ensure the new unit is compatible with your system. Check with a local HVAC company to verify the unit’s compatibility if needed.
3. Recover the refrigerant
Start by recovering the refrigerant from your compressor. Remove the covers from the tank valves, and connect them to the outlet port of the refrigerant recovery machine — start with liquid, then switch to vapor when you’re finished with liquid recovery.
Set the recovery machine’s inlet to liquid and main nozzle to recover, connect it to the liquid value on your unit, turn the outlet nozzle to open, and switch the power on to begin removal. You should be able to see the gauges eventually drop to 0 psi. Turn off, and repeat for the vapor side. When you’re finished, close the nozzles.
4. Remove the old compressor
Unwire the compressor, and mark and tape the old wires for protection and reference. Cut the lines to the compressor, being cautious of any substance that may leak out. Remove the foot bolts connecting the compressor to the condenser unit — depending on your unit, you may need wrench extensions to comfortably access the bolts. Carefully lift the old compressor from the condenser, and get help from another person if it’s too heavy for you to safely lift.
5. Install new compressor
Setup your new compressor by attaching the included rubber footings and metal inserts, removing the terminal cap, and removing the piping plugs. With assistance from another person as needed, place the new compressor inside with the mounting bolts and pipe openings lined up. Connect the pipes and secure the bolts, then connect the wiring harness to the compressor’s terminal. Reassemble the unit’s housing.
6. Have your refrigerant recharged
With your new compressor installed, it’s ready for your HVAC technician to recharge the refrigerant. This is also a great time to ensure your system is calibrated and operational before you turn it back on.

DIY AC Compressor Replacement: Is It Worth It?
Replacing an AC compressor on your own can save on some labor costs, but it’s a more advanced process than a routine air filter swap. Consider whether you have significant experience or not with HVAC systems and components and if your skill level is up to the needs of the task.
Check your personal supply of tools and equipment — in some cases, obtaining this equipment may result in your DIY AC compressor replacement costs measuring similarly to a professional repair. Lastly, consider the time and effort required for the replacement. Assuming the process goes smoothly, you can expect to take at least a few hours to complete the job.
When to hire a professional for AC compressor replacement
Replacing an AC compressor is a complex task that necessitates specialized HVAC knowledge and tools. A licensed HVAC technician undergoes training and certification that equips them with skills, knowledge, and experience that allow them to safely and efficiently replace a compressor. In most areas, electrical work and refrigerant handling requires a licensed and certified technician to comply with regulations and permits, and to ensure the validity of any warranties. Technicians also have the right tools, equipment, and replacement parts on-hand.
While some compressors may expire after they’ve reached the end of their expected lifespan, compressor failure may also result from underlying problems. A professional AC technician can investigate your system, identify contributing faults, and provide the appropriate repair to avoid repeated compressor replacements. If your unit’s warranty is still intact, it may be more cost-effective to warranty the replacement if eligible — in some cases, working on your compressor yourself can void your warranty and leave you responsible for future repairs and costs.
Preventing Future Compressor Problems
Try these preventative strategies to keep your compressor operating its best and improve its longevity:
- Professional maintenance: Schedule annual professional AC inspections with a licensed technician to catch problems early and keep components operating as they should.
- Clean outdoor unit: Routinely clear leaves, dirt, and other debris from the outdoor condenser unit.
- Replace filters: Change air filters at least every three months to avoid unnecessary strain on your system.
- Schedule prompt repairs: Address problems when you notice them and schedule service appointments to avoid further damage to your system.
Restore Your Cooling With AC Compressor Replacement in Michigan
Serving Clinton Township and other Michigan areas since 1980, Hoover is the go-to choice for full-service contractors and HVAC technicians. Whether you need an AC compressor replacement, full AC system replacement, or other services, you can take advantage of our free estimates, competitive financing, and expert services. Contact us today or schedule a service online.
Frequently Asked Questions
How long does an AC compressor last?
With proper maintenance, AC compressors last between 10 and 15 years.
Can a bad compressor damage my AC system?
A bad compressor prevents your AC system from cooling your home, and it can cause strain and wear on your system that may result in further repairs and increased utility bills.


